Step 15: Setup Your Controller Charger Follow
Introduction
The following article will provide you with guidance on how to set up your Controller Charger kit.
Time Required
30 minutes
Tools & Equipment Required
- Controller Charger Kit
- Power Cable
- Power Supply Unit
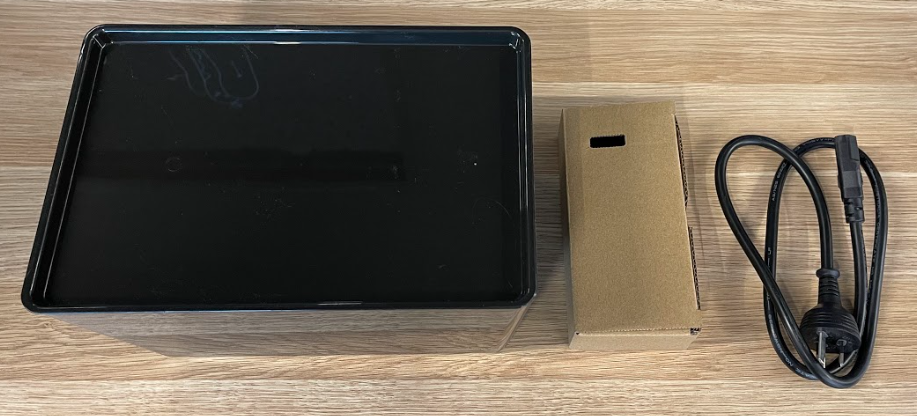
Locate the Controller Charger Kit
Setup the Controller Charger Kit
Locate the Controller Charger Kit
- Locate the box labelled Equipment Wall Fitout and collect the Controller Charger kit, PSU and power cable. The PSU and power cable may be located in another box.
Setup the Controller Charger Kit
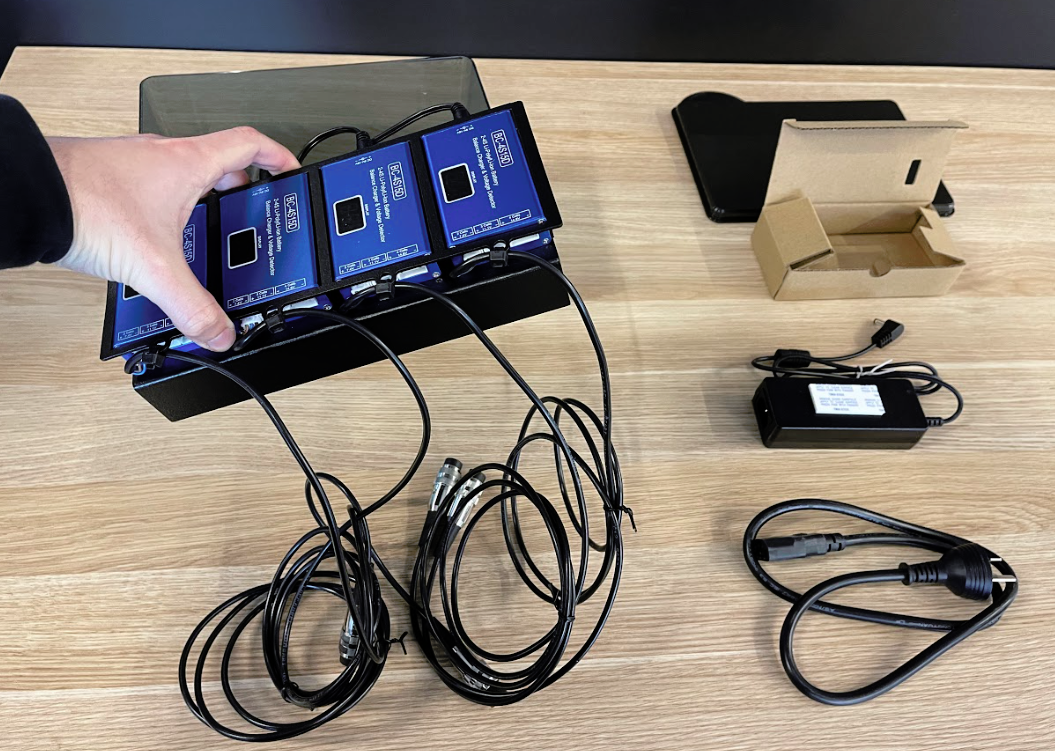
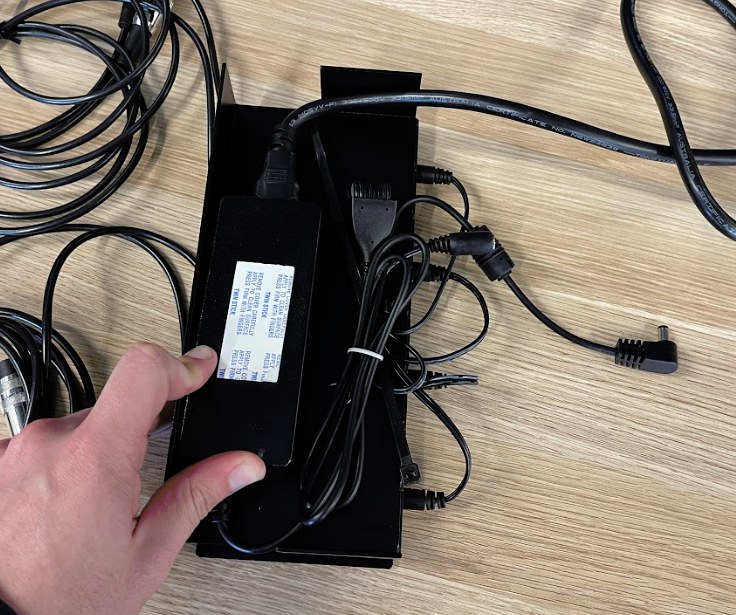
- Remove the controller charger chassis from the kit.
- Flip the chassis over.
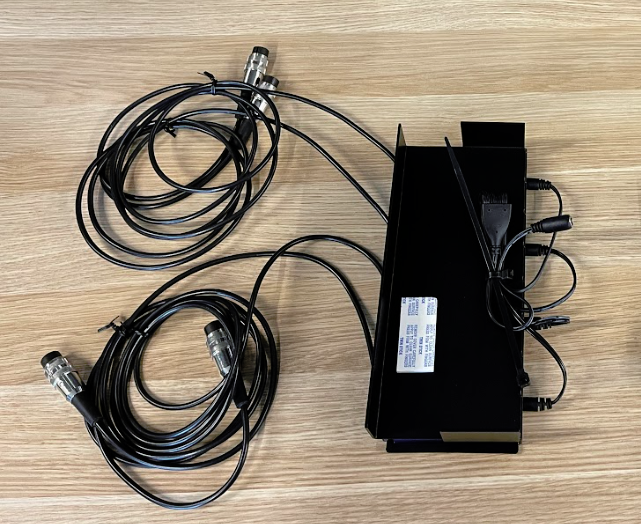
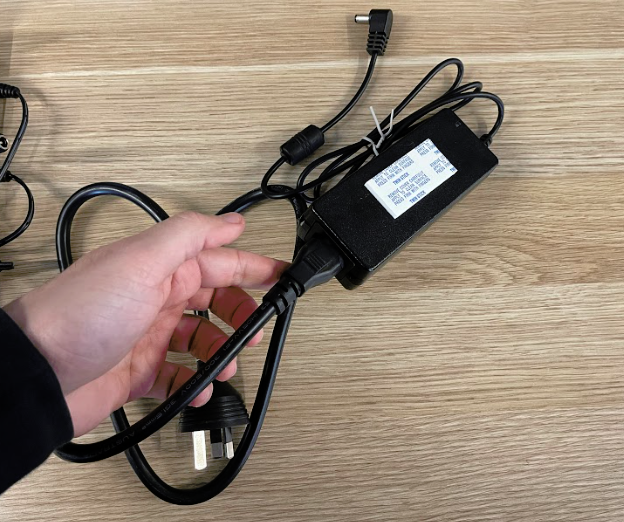
- Connect the power cable to the power supply unit.
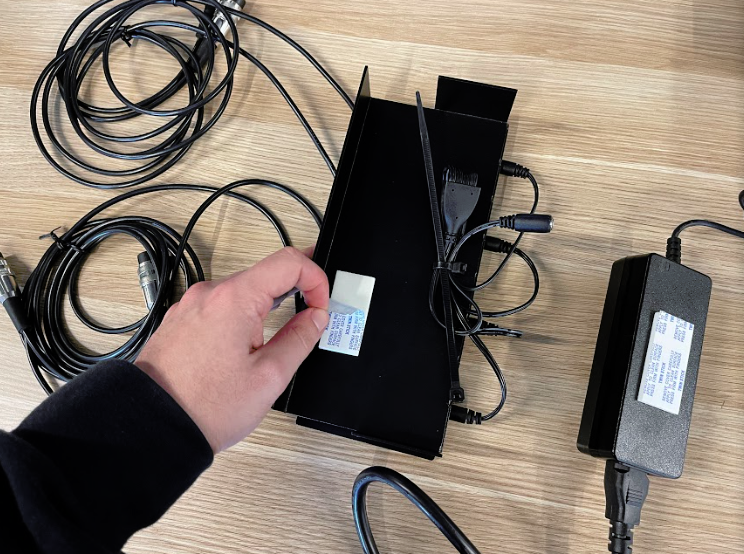
- Remove the adhesive paper cover from the bottom of the controller charger chassis.
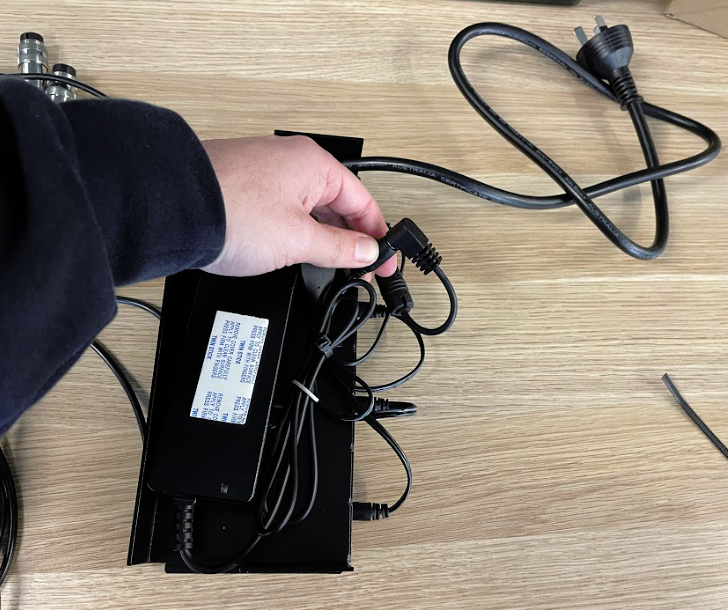
- Adhere the power supply to the bottom of the Controller Charger Chassis by bending the power cable so that it sits inside the chassis about 2/3 of the way.
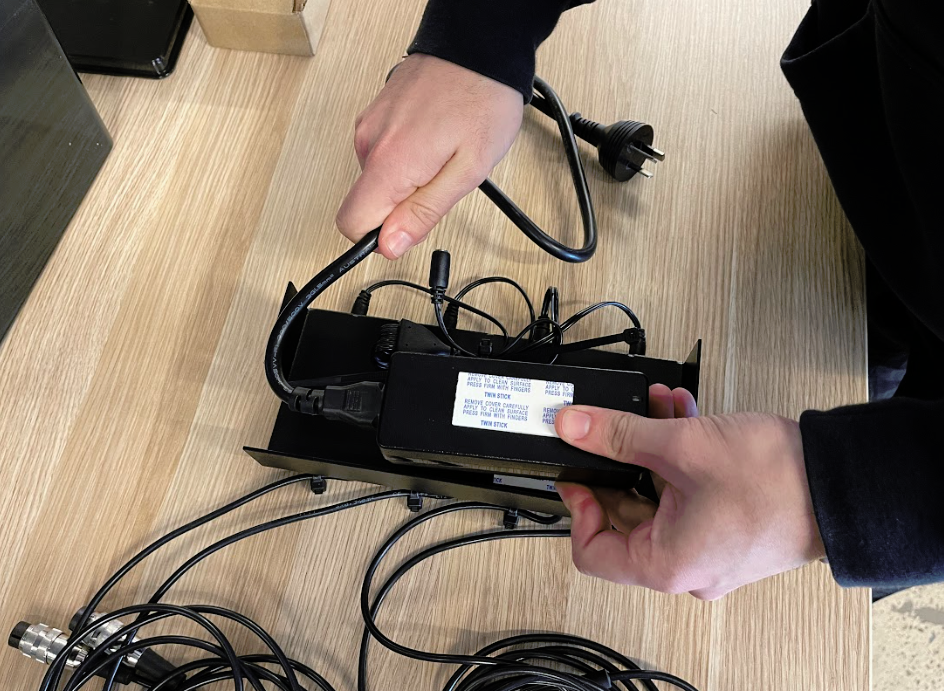
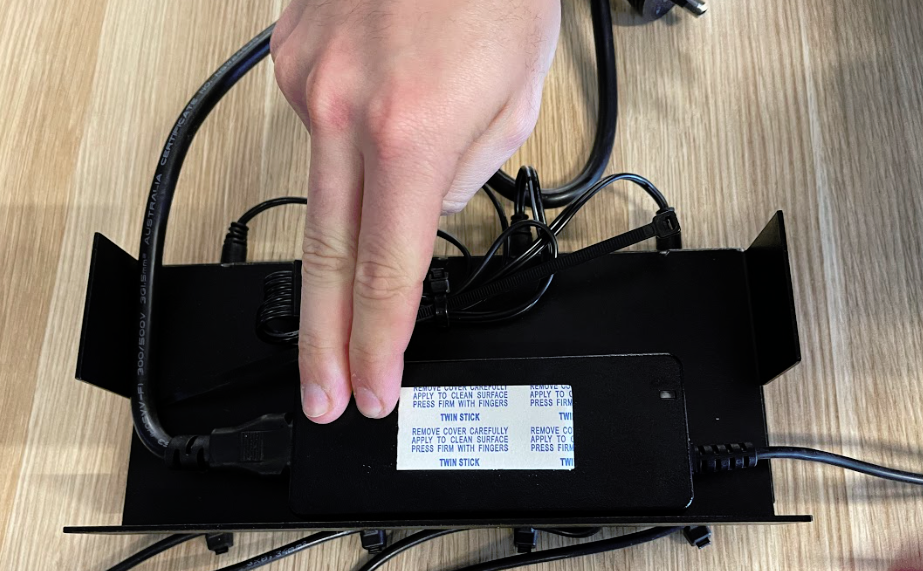
- Firmly press the unit down against the adhesive.
- Move the folded cable from the power supply so that it sits across the controller charger chassis while ensuring the power cable is sitting inside the chassis.
- Wrap the cables with the cable tie and cut off any excess.

- Connect the DC jack to the DC plug.
- Remove the adhesive paper cover from the power supply.
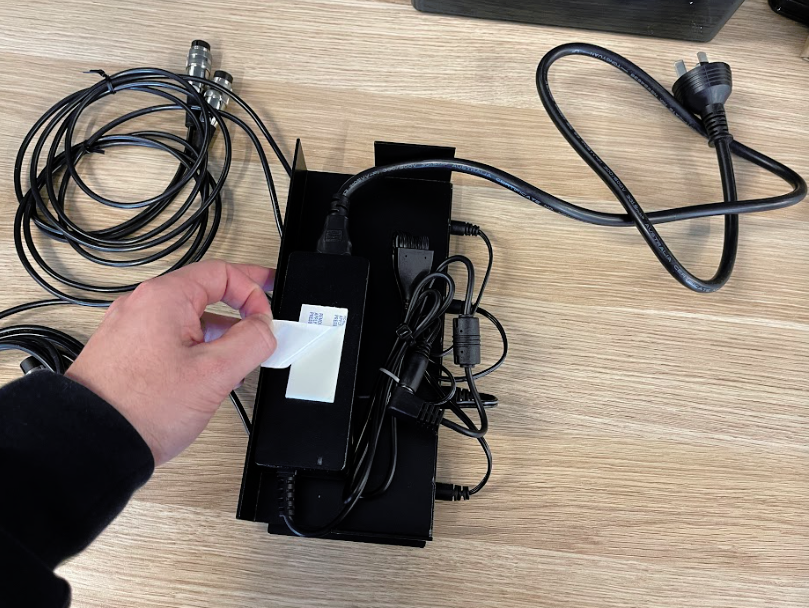
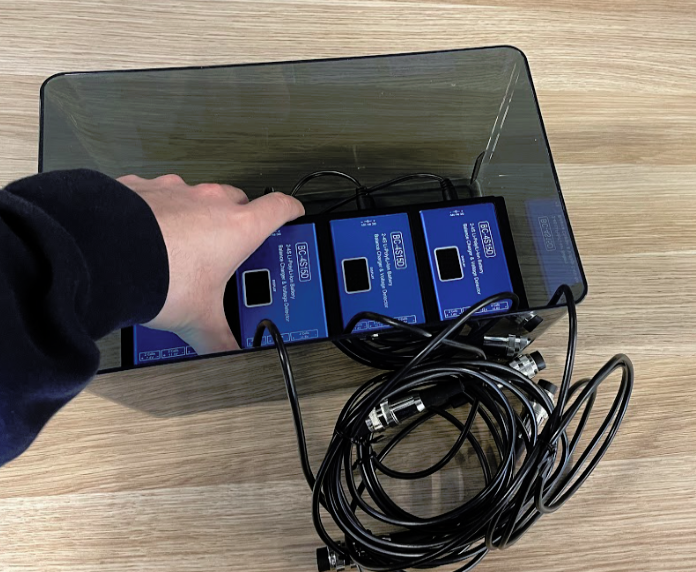
- Flip the controller charger chassis over and place it into the enclosure ensuring the chassis slides into the notches on the bottom of the case.
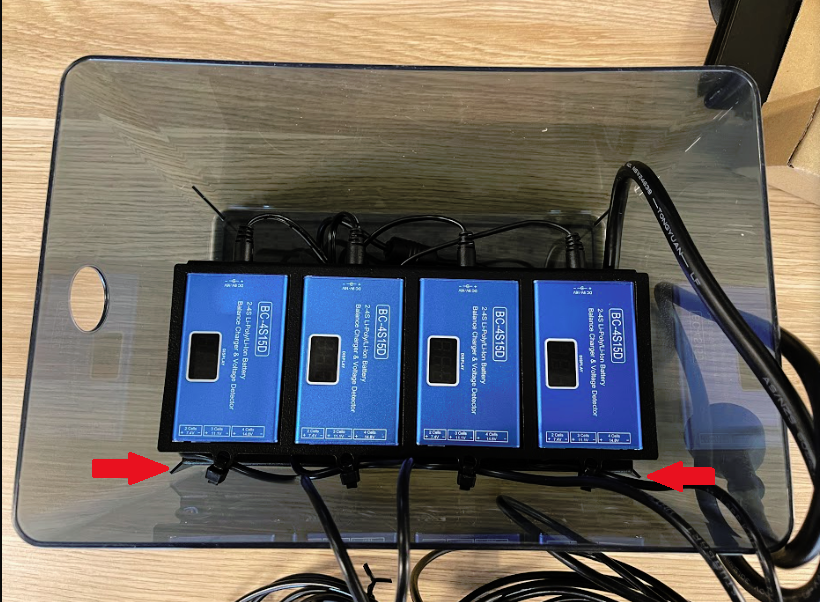
- Gently press down the controller charger chassis to allow the adhesive on the power supply to press against the bottom of the enclosure.
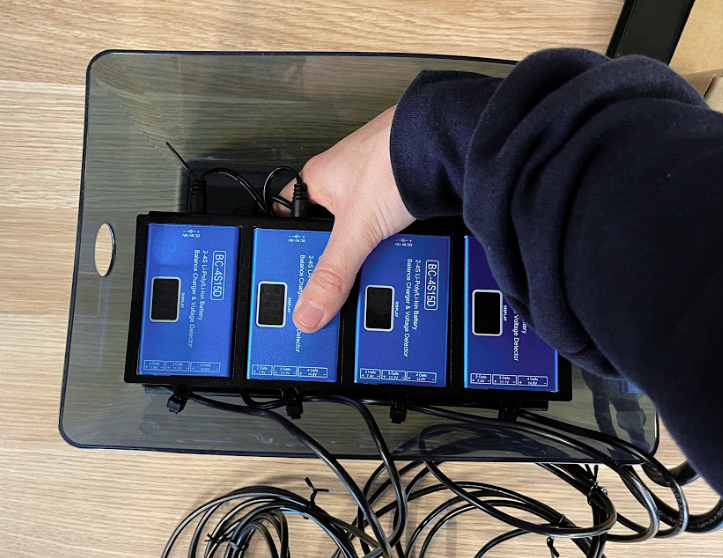
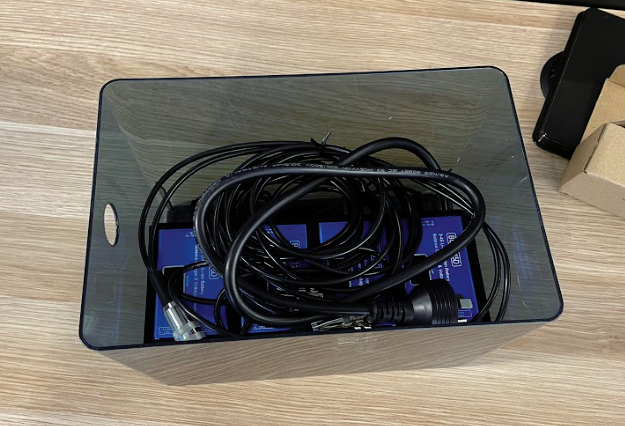
- Remove the twist ties and place the cables inside the enclosure.
Article Keywords/Phrases:
How to set up the controller charger
Controller charger install
Building the controller charger
Comments
0 comments
Article is closed for comments.